The Hard Way of Emulating Firmware Part 2
It is not you fault when it’s not working.
André Eichhofer
Happy day,
in the first part we examined how to emulate a single binary statically with Qemu. While user mode emulation is a good starting point to identify vulnerabilities in single binaries, it is most often not sufficient to test complex functions of your embedded device. In order to get the firmware to work properly, you need to emulate the system as a whole. That’s when dynamic or system mode emulation comes into play.
System mode emulation means to emulate the entire firmware, not only a single binary. If system mode emulation works correctly, you can test the entire firmware just as you would run the embedded device.
For the emulation I will use different tools, namely
- Attify OS
- Qemu
- Firmware Analysis Toolkit
- Firmadyne and
- Firmae.
Let’s start.
Testing embedded devices with Qemu
As test environment I will use Attify OS, a Linux OS that is based on Ubuntu and has many tools for firmware analysis pre-installed. I will run Attify OS as a virtual machine on a Windows host.
First, we emulate our firmware using Qemu System Mode. For this, Qemu will create and run a virtual machine, that matches the target architecture. Then, we copy the firmware file system into the Qemu VM and start it. For proper testing, the Qemu VM must be reachable in the network, namely
- our host machine must reach the Qemu vm and
- the Qemu VM must reach the host system
In order to enable the necessary network connection, you need to
- create a virtual bridge between Qemu vm and your host system
- bring up a network interface within the Qemu vm
- start an ssh server within the Qemu VM (done automatically by Qemu)
Qemu opens an ssh port at the virtual machine, so that you can login to the vm. Then, you copy your executables or an entire file system into the Qemu vm.
To create the Qemu Virtual Machine you need the following files,
qemu-system-<cpu-type>: Qemu binary to create the VM
(e.g. qemu-system-mips)vmlinux-3.2.0-4-4kc-malta: Configuration file for the VMdebian_wheezy_mips_standard.qcow2: image file, big endiandebian_squeeze_mips_standard.qcow2: image file, little endian
Our goal is to run the Totolink-EX200 Firmware. As we have determined in part 1 its file system uses big endian 32-bit archicture. Thus, we use Qemu big endian image file.
Start the Qemu vm with,
sudo qemu-system-mips -M malta -kernel vmlinux-3.2.0-4-4kc-malta
/ -hda debian_wheezy_mips_standard.qcow2
/ -append "root=/dev/sda1"
/ -net nic -net tap
/ -nographic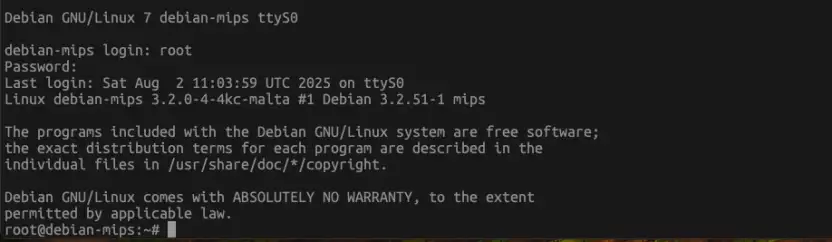
After the VM has started log into the machine with root:root and bring up the network interface
ifconfig eth0 192.168.0.70 up
Check that the network interface is working,
root@debian-mips:~ # ifconfig
...
eth0: flags=4163<UP,BROADCAST,RUNNING,MULTICAST>  mtu 1500
   inet 192.168.0.70  netmask 255.255.255.0  broadcast 192.168.0.255 # -> IP address of the vm
...
Note: The IP addresses are only examples, ensure that the Qemu vm and your host machine are in the same network.
Next, check network connectivity of the Qemu VM:
root@debian-mips:~ # ping <host_ip>: Ping the host from the vm
iot@attify:~ > ping <qemu_vm>: ping qemu vm from the host machine
Now, we’re ready to copy our Totolink EX200 file system into the Qemu vm.
scp -r squashfs-root/ root@192.168.0.70:/root/
The last step is to mount devices from the Qemu vm to the sqhashfs-root filesystem
mount -o bind /dev ./squashfs-root/devmount -t proc /proc ./squashfs-root/procmount -o bind /sys ./squashfs-root/sys
Now, we should be able to create a shell in the firmware file system,
chroot ./squashfs-root/ /bin/sh
Now, we’re ready to boot the file system. Navigate to /etc/init.d and start the rcS script. We’ll see a lot of error messages. That’s why we’re not using the original environment of the device. If you’re patient enough you can tweak around and fix the errors, like in this example
Apart from this, we can use netstat to verify that lighttpd web server has started at port 80.

We can even open a browser and navigate to the login page.
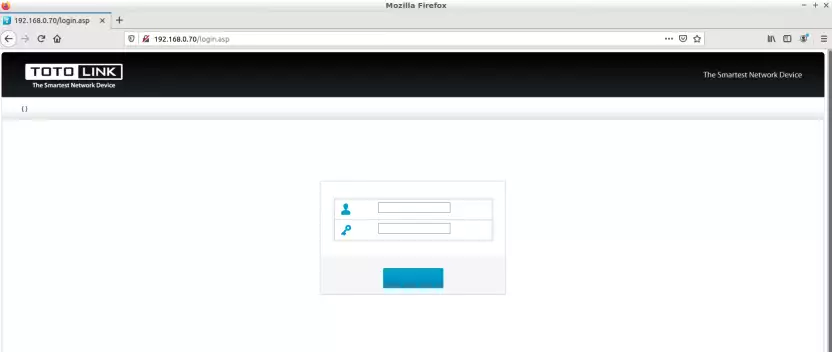
Of course, the web interface is not fully functional, because we’re not using the original environment. But the web server is full of vulnerabilities, as you can check out here.
I will not go deeper into the vulnerabilities, because my primary goal is to emulate the firmware. We’ve done this with Qemu. Let’s try out some tools that promise to make emulation more easy.
Emulating firmware with Firmware Analysis Toolkit
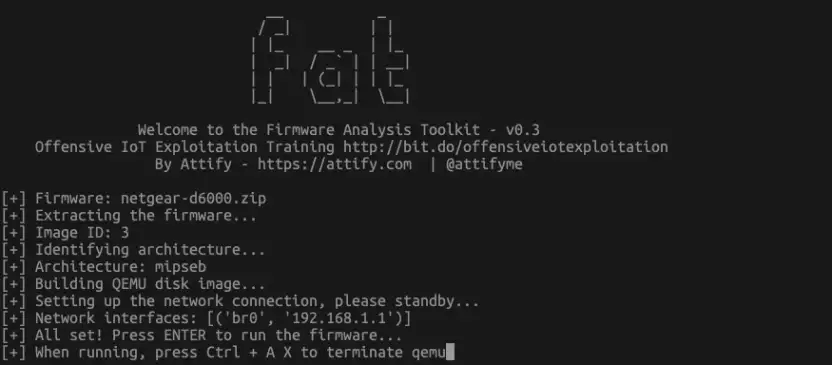
The guys who made Attify OS also created the Firmware Analysis Toolkit(FAT), that aims to make emulation super easy. FAT is ready installed on Attify OS. To run it, follow the setup instructions and type $ ./fat.py <firmware file>.
At its core, FAT is a script to automate Qemu and Firmadyne (see later). It
- extracts the filesystem from the firmware
- gets the architecture of the firmware
- makes the firmware image
- sets up the network interface
- emulates the image.
However, when I tested FAT almost no firmware did work. The only firmwares that worked for me were Netgear D6000 and WNAP320 Firmware Version 2.0.3, that comes as an example within FAT repository.
Therefore, let’s not waste time and jump straight to Firmadyne in part 3 of this post.